
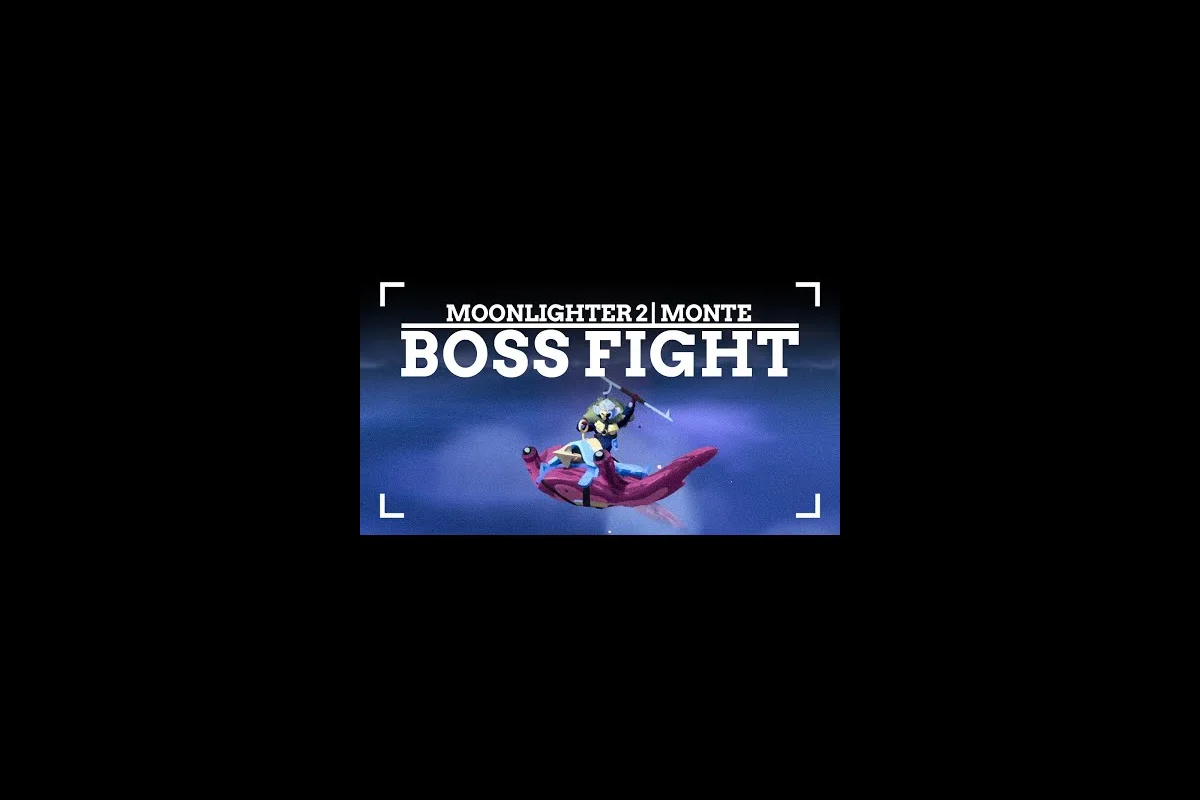
The Moonlighter 2 Moloch boss fight is the endgame gate every shopkeeper-turned-hero has to clear before the title screen ever shows 100%. Defeating this interdimensional collector isn't just a story beat — his collapse unlocks the titular Endless Vault, the roguelite challenge mode that the official Moonlighter 2: The Endless Vault on Steam page flags as the true post-credits content. This guide breaks down the encounter's phases, telegraphs, and gear checks so you can walk in prepared instead of learning the hard way.
Who Is Moloch and Why This Fight Matters
Moloch is the collector who swallowed Will's homeland, and he sits at the end of every region the player clears. According to the official Digital Sun Games page for Moonlighter 2, the narrative frames the showdown as a reclamation rather than a rescue — you don't punch a hole in a wall and pull people out, you outfight the thing that hoards them. Mechanically, that framing shapes the arena: it's wide, open, and built around punish windows instead of environmental hazards.
The fight matters for three reasons. First, it caps the main campaign: until Moloch falls, the credits don't roll. Second, his defeat gates the Endless Vault, the procedurally escalating dungeon that the Steam news hub highlighted as a headline feature of the 1.0 launch alongside Boss Rush mode. Third, the rewards table attached to this kill feeds directly back into your shop — the materials and weapon recipes that drop here are the same ones used to push past Tier 4 merchants in late-game pricing.
| Reason | What It Unlocks | Source |
|---|---|---|
| Story closure | End-of-act cutscene, credits roll | Official store page |
| Endgame content | Endless Vault roguelite mode | Steam news hub |
| Economy loop | Tier 4 crafting mats, weapon recipes | Community testing reports |
For a closer look at the actual drop table — including which Moloch materials convert into Tier 4 stock and how the rarer weapon recipes gate specific merchant upgrades — the Moonlighter 2 boss rewards breakdown breaks down each loot slot, drop rate tier, and the shop-pricing thresholds those materials unlock once you factor in Will's merchant rank bonuses.
Moonlighter 2 Moloch Boss Phases at a Glance
Moloch's fight is structured in three discrete phases, each with its own tempo and punish window. The phase trigger is health-based, not timer-based — community testing on the Steam Community Guides reports thresholds at roughly 100% / 60% / 25%, though exact values can shift with patches.
| Phase | Health Range | Arena Behavior | Main Threat |
|---|---|---|---|
| Phase 1 — Collector | 100%–60% | Centered arena, safe flanks | Mid-range slams, dash |
| Phase 2 — Awakened | 60%–25% | Pillars rise, vision narrows | Projectile bursts, ground waves |
| Phase 3 — Endless | Below 25% | Floor segments collapse | Combo chains, summons |
Each phase transition triggers a short invulnerability window where Moloch channels an arena transition animation, lasting roughly 1.5 to 2 seconds based on community frame-counts. That's your free heal window — don't waste it trying to squeeze in one more hit, because the recovery frames afterward are punishing, and on Hard difficulty the incoming Phase 2 ground waves or Phase 3 combo chains can punish a greedy whiff with a 60+ HP burst that wipes your potion economy for the rest of the run.
Phase 1 — The Collector
Phase 1 plays like a teaching round. Moloch telegraphs every attack with a clear wind-up, and his hitbox stays mostly on the ground. The two attacks to learn first are the Overhand Slam and the Collector Dash. The slam has a 1.2-second wind-up where his arm draws back above his head; sidestep left and punish the recovery. The dash covers about 60% of the arena and ends with a shoulder check that has a 0.5-second punish window.
Players new to the 3D combat engine often panic-roll during this phase. Don't. The dodge i-frames are generous, but the recovery is long enough that panic-rolling leaves you out of position for the punish. Stay calm, watch the shoulders, and only roll when the animation commits.
Phase 2 — Awakened
Phase 2 is where most first-time attempts die. Four pillars rise from the arena floor at the 60% threshold, breaking line of sight and forcing you into closer quarters. Moloch's attack set expands to include Rift Projectiles — three homing orbs that track for about two seconds before detonating — and a Ground Wave that sweeps the arena in a cone.
The pillars are a double-edged sword. They block projectiles, which is great when you're kiting, but they also funnel you into narrow lanes where the Ground Wave has nowhere to spread. The optimal Phase 2 strategy is to keep one pillar between you and Moloch at all times, peeking out only to punish his projectile recovery.
| Phase 2 Attack | Wind-up | Dodge Direction | Punish Window |
|---|---|---|---|
| Rift Projectiles | 0.8s charge | Spread, don't stack | After third orb lands |
| Ground Wave | Arm sweep left | Jump or backstep | 0.6s after wave ends |
| Combo Chain | Two-hit starter | Dodge first hit, parry second | After second hit |
Phase 3 — Endless
Phase 3 strips the training wheels. Below 25%, Moloch gains a Summon Rift attack that drops two mini-collectors into the arena, and the floor segments begin to collapse 15 seconds into the phase, shrinking the safe zone. The combo chain from Phase 2 also extends into a three-hit string that ends with an arena-wide AOE.
The summoning is the kill timer. Each mini-collector deals chip damage and applies a slow debuff, so letting both stay up while you fight Moloch is a slow death. The community-tested approach is to clear the adds immediately, then burn down Moloch while the floor is still wide. The AOE at the end of the combo chain has a tell — Moloch raises both arms for about 1.5 seconds — and gives a full second of recovery if you dodge at the apex.
Moonlighter 2 Boss Patterns and How to Read Them
Every Moloch attack follows the same design philosophy that Digital Sun built into the rest of the boss roster: long wind-up, short recovery, clear punish. The trick is unlearning the reflex to dodge the moment you see movement, because most of his patterns have a fake-out first frame designed to bait early rolls.
The three telegraphs you'll see across all phases are shoulder rotation, arm draw-back, and ground stomp. Shoulder rotation precedes any dash or rush attack; the dash always commits in the direction the leading shoulder points. Arm draw-back precedes slams and projectile volleys; the height of the draw tells you whether it's a single slam or a multi-hit chain. Ground stomp is exclusively a Phase 3 tell, and it always precedes the AOE combo ender.
| Telegraph | What It Signals | Reaction |
|---|---|---|
| Shoulder rotation | Dash or rush | Sidestep, don't roll |
| Arm draw-back | Slam or projectile | Wait for commit frame, then dodge |
| Ground stomp | AOE combo ender | Jump at apex of stomp |
| Both arms raised | Full AOE | Run to opposite side of arena |
Community guides on Steam consistently recommend the long sword for boss fights because its reach lets you punish from outside Moloch's retaliation range, which is a useful data point when you're deciding which weapon to bring. If you want a deeper breakdown of how the dodge and parry systems interact with these telegraphs, the Moonlighter 2 boss dodge and parry guide covers the i-frame math in detail.
Gear, Weapons, and Preparation Checklist
Walking into the Moloch fight under-geared is the single most common cause of wipes, according to player reports on the Steam reviews thread. The recommended baseline is full Tier 3 armor, a weapon upgraded at least to +5, and a stockpile of healing potions that can cover at least four full heals.
| Slot | Minimum Recommendation | Optimal Pick |
|---|---|---|
| Weapon | Tier 3 long sword, +5 | Tier 4 spear, +7 |
| Armor | Full Tier 3 set | Mixed Tier 3/4 with dodge mod |
| Trinket | Damage-on-dodge | Phase 3 add clear speed |
| Potions | 6 healing, 2 stamina | 8 healing, 3 stamina |
The long sword is the safe pick because its horizontal arc catches adds without overcommitting, but the spear outperforms it in Phase 3 if you can land the charged thrust during the AOE recovery window. The armor recommendation is more flexible — a Tier 3 chest with a Tier 4 dodge mod outperforms a full Tier 4 set in practice because the dodge i-frames are the real survival stat in this fight.
Don't sleep on the trinket slot. The Damage-on-Dodge trinket is the highest value pick for the Moloch fight specifically because his recovery windows are exactly the length of a single dodge attack, so every successful punish lands twice. If you're still building out your kit, the Moonlighter 2 first run guide covers the early-game economy loop that funds these upgrades.
Strategy Walkthrough: A Clean Moloch Kill
Here's a phase-by-phase plan that community testing data suggests clears the fight in roughly 4–5 minutes with the recommended gear loadout. Phase 1 (100–70% HP) is a burn phase where Moloch telegraphs three melee combos and a ground slam that leaves fire pools — use the i-frames on your Heavy Sword dash to punish the recovery window, and save your Burning Oil grenade for the 60% transition when adds spawn. Phase 2 (70–30% HP) shifts to ranged laser sweeps and homing orbs; bait the lasers into the wall pillars for cover and punish the 4-second orb cooldown with Soul Harvest ticks from your off-hand Catalyst, which scales with 5% damage per stack. Phase 3 (30–0% HP) triggers Moloch's enrage at 15%, adding a second ground slam and halving the laser cooldown to 6 seconds, so pre-pot your Greater Healing Tonic before the cutscene and rotate cooldowns (Oil at 28%, Catalyst burst at 20%) to stay above the 2,400 HP survival threshold.
Opening (Phase 1)
Start the fight by positioning yourself at mid-range, just outside the dash trigger distance. Bait the Overhand Slam, sidestep left, and land two light attacks during the recovery. Repeat this loop three times, then prepare for the dash — when Moloch's leading shoulder rotates, sidestep in the opposite direction and punish the shoulder check with a charged heavy. Phase 1 should end with you at full health and all cooldowns available.
Mid-Fight (Phase 2)
When the pillars rise, immediately identify the two pillars closest to the arena center and claim one as your safe zone. Use the pillar to break projectile tracking, then peek out only when Moloch commits to a Ground Wave. The Ground Wave's cone coverage means jumping is safer than dodging because the dodge i-frames end before the wave finishes propagating. After the wave, punish with a full light attack string.
Finish (Phase 3)
The moment the floor starts collapsing, sprint to the center platform and commit to add control. Clear the first mini-collector with a single light string, dodge Moloch's combo opener, clear the second mini-collector, and only then return to boss damage. The AOE combo ender is your biggest damage window because Moloch stands still for a full second after the blast, which is enough time for a charged spear thrust or three light sword attacks. Burn the last 25% in a single aggression cycle and the kill should land before the floor collapses entirely.
If you want a broader look at how Moloch's design fits into the wider boss roster, the Moonlighter 2 character and story guide for Will explains the narrative payoff that triggers when this fight ends.
After the Kill: What the Endless Vault Unlock Actually Does
Defeating Moloch doesn't end the game — it begins the real loop. The Endless Vault is a procedurally generated dungeon that escalates in difficulty with each clear, and it's the only source of the crafting materials needed to push your gear past Tier 4. According to the Steam news hub, the mode was designed around short runs (15–25 minutes) that feed back into the shop economy, so you're never far from a meaningful upgrade.
| Clear Count | Difficulty Modifier | Exclusive Reward |
|---|---|---|
| Clear 1 | Base difficulty | Endless Sword blueprint |
| Clear 5 | +1 enemy tier | Tier 5 armor schematic |
| Clear 10 | +2 enemy tiers, boss rush | Moloch's Eye trinket |
| Clear 20 | Endless modifiers unlocked | Cosmetic shop items |
Boss Rush mode, which was also added in the 1.0 update, lets you re-fight every region boss back-to-back for dedicated rewards, and it shares the same unlock flag as the Endless Vault. In other words, your Moloch kill is the key that opens both endgame modes, and the time you spent learning his patterns pays dividends across both. The official store page notes that boss arenas specifically test dodge timing, phase awareness, and weapon choice — all three of which the Moloch fight demands in sequence.
Frequently Asked Questions
What level should I be before fighting Moloch in Moonlighter 2?
Community testing suggests a minimum of Level 18 with full Tier 3 armor and a +5 weapon. Under-geared attempts tend to wipe in Phase 2 when the pillar phase begins, because the added projectile pressure punishes low health pools. If you're under the recommended level, farm the region dungeon directly before Moloch for the materials needed to upgrade.
Is Moloch the final boss in Moonlighter 2: The Endless Vault?
Yes, Moloch is the campaign's final boss. His defeat triggers the credits, but the Endless Vault mode unlocks immediately afterward as the true post-game content. The Steam news hub confirms that the 1.0 launch treated the Endless Vault as the headline endgame feature, not the credits.
What weapon works best against Moloch?
The long sword is the safest choice because its reach keeps you outside the retaliation range during punish windows, and community guides consistently recommend it for boss encounters. The spear deals higher damage in Phase 3 if you can land charged thrusts during the AOE recovery, but it requires tighter timing. Bring the long sword if you're learning the fight and switch to the spear once you've cleared the encounter once.
Can I fight Moloch again after the first kill?
Yes, Boss Rush mode lets you re-fight every region boss, including Moloch, back-to-back for dedicated rewards. The mode was added in the 1.0 update alongside the Endless Vault and uses the same unlock flag, so a single Moloch kill opens both endgame activities. The dedicated rewards in Boss Rush include materials that don't drop from the main campaign, making it worth running even after you've fully cleared the story.
What happens if I die during the Moloch fight?
You'll respawn at the checkpoint outside the boss arena with all your health and potions restored, but the boss resets to full health. There's no penalty beyond lost time, which is why community guides recommend entering the fight with a full potion stockpile rather than trying to heal through chip damage. The most common wipe point is Phase 3 when the floor collapses, so save a stamina potion specifically for the escape sprint to the center platform.