
Bosses
Moonlighter 2 boss guide — every region boss with attack patterns, phases, recommended weapons and builds, plus the Moloch confrontation and Boss Rush mode.
Introduction
Bosses are the ultimate test of your Moonlighter 2 build. Each region ends with a guardian that demands mastery of its attack patterns, phase transitions and arena mechanics. The Kalina Guardian teaches the basics, the Gallery Sentinel punishes poor positioning, the Aeolia Tyrant tests your endurance, and Moloch — the interdimensional collector who stole your homeland — is the three-phase finale that caps the story. Beyond the main campaign, Boss Rush mode chains every boss together for the true endgame challenge. This page collects strategy guides for every encounter: telegraph recognition, dodge timings, recommended weapons and the relic builds that make each fight easier.
Boss Encounter Quick Reference
| Boss | Region | Phases | Key Mechanic | Recommended |
|---|---|---|---|---|
| Kalina Guardian | Kalina | 2 | Telegraphed swipes | Sword, dodge discipline |
| Gallery Sentinel | The Gallery | 2 | Shock chain + phase slam | Gauntlets, Shock resist |
| Aeolia Tyrant | Aeolia | 3 | Petrify zones | Spear, kiting build |
| Moloch | Final | 3 | Room-wide attacks | Gauntlets, max weapon |
Boss Breakdowns
Moloch
The final boss — three phases of interdimensional chaos
Aeolia Tyrant
Petrify zones and endurance in the third biome
Gallery Sentinel
Shock chains and the phase slam
Kalina Guardian
The beginner boss that teaches dodge discipline
Core Mechanics
Every boss in Moonlighter 2 follows a learnable pattern: telegraphed attacks, phase transitions and arena mechanics. The key is reading the wind-up — most attacks have a clear tell that gives you a dodge window. Phase transitions usually add new attacks or arena hazards, so the second and third phases demand different positioning. Boss arenas are fixed, which lets you learn safe zones and ideal dodge directions with practice. The final boss Moloch combines all mechanics, and Boss Rush mode chains every boss in sequence, testing your stamina and build consistency. Understanding boss patterns turns each fight from a wall into a reliable farming opportunity.
Advantages
Mastering bosses unlocks the best rewards in Moonlighter 2. Every boss drops premium relics, upgrade materials and story items that cannot be obtained anywhere else. Beating bosses also progresses the story, unlocking new biomes, shop upgrades and the Endless Vault challenge. Boss Rush mode adds a repeatable endgame source of high-tier loot once you can clear it consistently. Because boss strategies are learnable, investing a few runs to practice each encounter pays off permanently — every future run of that region becomes faster, safer and more profitable. Boss kills also unlock story progression and new biomes, so mastering encounters is the key to experiencing everything the game has to offer, and every victory makes future farming runs more efficient.
Challenges
Boss fights are the hardest content in Moonlighter 2, and they punish under-geared players hard. Rushing a boss with an un-upgraded weapon wastes runs and can stall your story progress. Boss Rush mode is even harsher — one mistake against an early boss ends the whole chain, so consistency matters as much as damage. Community boss guides from Early Access may reference outdated patterns or phases, since the 1.0 release rebalanced several encounters. Always pair boss guides with the current patch notes and verify recommended weapons against your actual build. Patience is essential: a single failed attempt costs your run's loot, so knowing when to retreat and rebuild your gear is as important as pattern knowledge for consistently clearing the hardest encounters.
Frequently Asked Questions
What is the hardest boss in Moonlighter 2?+
What is Boss Rush mode?+
How do I beat Moloch?+
What rewards do bosses drop?+
Quick Tips
Learn the telegraphs before optimizing your build — every boss attack has a wind-up you can dodge. Pattern knowledge is worth more than raw DPS in every encounter, especially in the later phases. Practice each boss's dodge timings before optimizing your build — pattern knowledge alone can carry you through fights that raw damage cannot, especially in the later phases.
Save your dodge for the attacks that matter. In phase two and three, most bosses add zone or room-wide attacks that require a dodge — burning it on a light swipe leaves you vulnerable to the big hit. Upgrade your weapon to max before attempting the harder bosses, since an under-leveled weapon turns a winnable fight into a long grind that burns your limited healing relics.
Upgrade your weapon to max before attempting the harder bosses — an under-leveled weapon turns a winnable fight into a long, punishing grind that wastes your runs. The forge is your best boss-prep investment. Save your dodge for the phase transitions and room-wide attacks, and use light attacks to punish recovery windows instead of committing to slow heavies during dangerous moments.
Pair boss guides with the current patch notes — the 1.0 release rebalanced several encounters, so older strategies may reference outdated phases. Check the updates page before committing a farming session to a specific boss. Check the patch notes after major updates because 1.0 rebalanced several boss patterns, so strategies from Early Access guides may reference outdated phases and timings.
Featured

Moonlighter 2: The Endless Vault Boss Cheese & Easy Kills
Exploit every Moonlighter 2 boss cheese tactic versus clean parry play — terrain exploits, summon tricks, dodge frames, and the safest parry windows per phase.

Moonlighter 2: The Endless Vault Boss Quest Milestones
Complete every Moonlighter 2 boss quest line, from elite and mini-boss encounters to Boss Rush reward milestones that gate postgame shop upgrades.
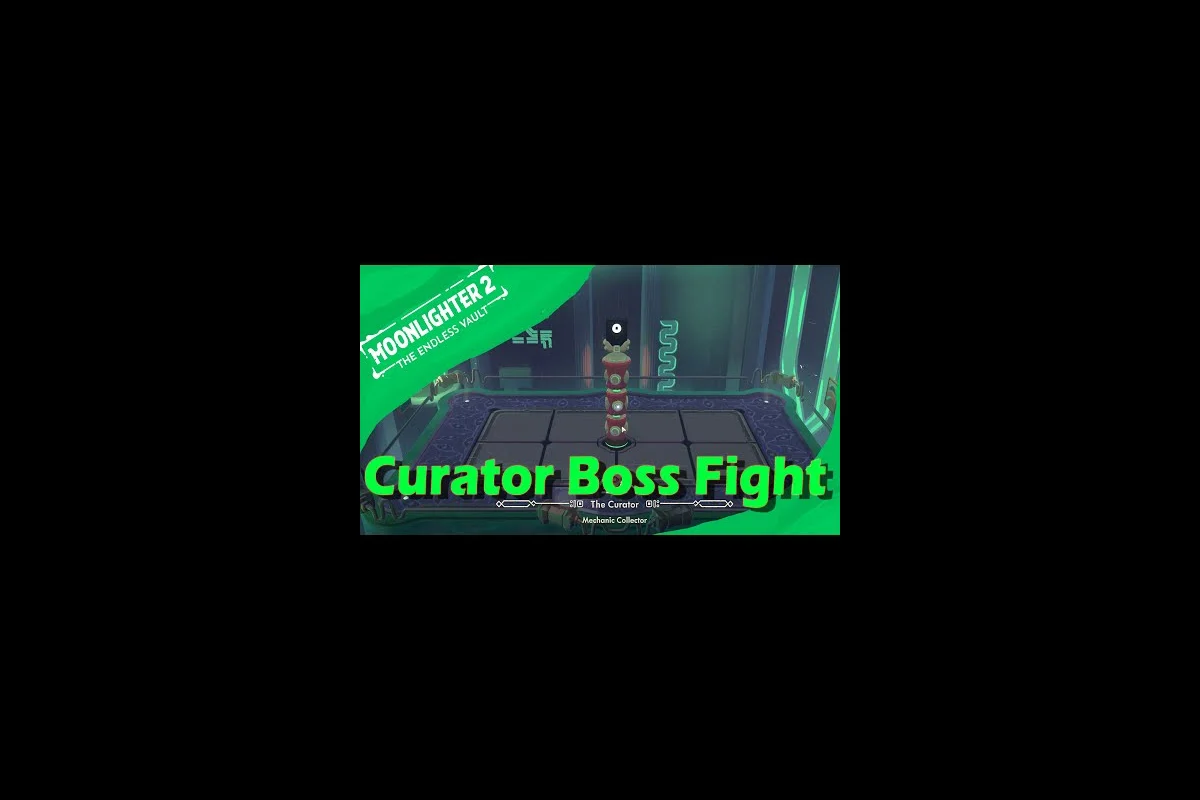
Moonlighter 2: The Endless Vault Boss Rewards & Loot Guide
Track every Moonlighter 2 boss rewards payout: relic drops, arena chests, Boss Rush exclusives, and the unlocks gated behind Moloch's final vault key.
All Articles

Moonlighter 2: The Endless Vault Bosses Guide & Strategies
Study every Moonlighter 2 bosses entry across Kalina, Gallery, Aeolia, and Moloch — learn phase transitions, dodge windows, and Boss Rush rewards at 1.0 launch.

Moonlighter 2: The Endless Vault Moloch Boss Fight Guide
Defeat the Moonlighter 2 Moloch boss with phase breakdowns, attack pattern tips, weapon picks, and the exact Endless Vault unlock this final showdown triggers.

Moonlighter 2: The Endless Vault Optional & Hidden Boss
Find every Moonlighter 2 optional boss lurking off the main path, including the interdimensional Collector — spawn cues, weapon drops, and farming value.

Moonlighter 2: The Endless Vault Boss Weaknesses & Counters
Exploit every Moonlighter 2 boss weakness with a per-region resistance chart, dodge windows, phase break cues, and weapon class picks that punish every attack.