
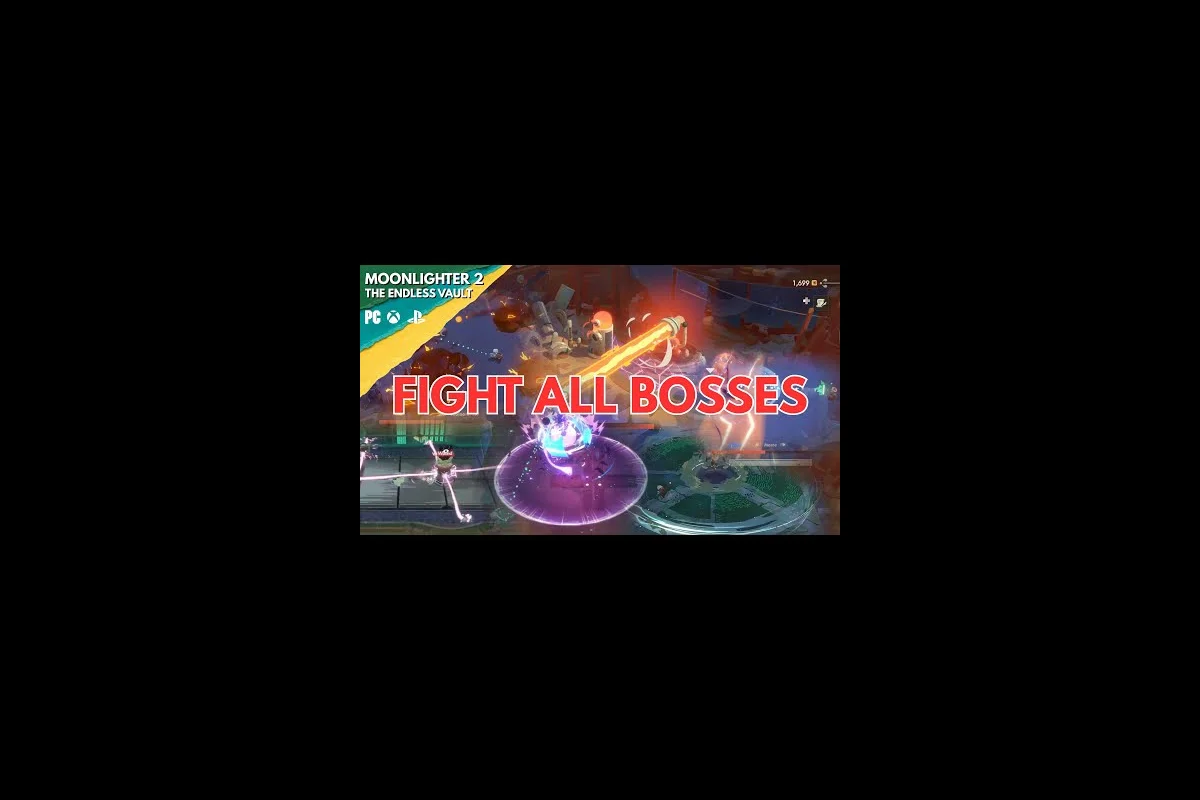
Boss fights in Moonlighter 2: The Endless Vault are designed to punish sloppy play, but the combat sandbox also rewards map knowledge in ways most players overlook. This Moonlighter 2 boss cheese guide breaks down every terrain exploit, summon trick, and dodge-frame window that lets you shortcut otherwise brutal encounters while still learning the underlying patterns. The point is not to skip the fight — it is to survive the learning phase long enough to read the fight.
Boss arenas in this sequel are not flat boxes. Pillar geometry, breakable statues, elevation changes, and the summon-ally system all interact with telegraphs in ways that create real cheese openings. According to the Moonlighter 2: The Endless Vault on Steam page, every region ends with a boss fight that gates progression, and the final encounter with Moloch sits behind the entire chain. Knowing how to bend the rules on the early bosses keeps your merchant loop alive long enough to afford the gear upgrades the mid-game bosses demand.
This is a practical survival guide, not a skip-the-game manifesto. The cheese tactics below are documented by community testing, layered on top of a real understanding of the parry and dodge systems, and tied to specific phase transitions so you can transition from cheesy first clears into clean parry play once you understand the timing.
Understanding the Moonlighter 2 Boss Cheese Foundation
Before diving into per-boss exploits, you need to understand the four systems every cheese tactic in this game is built on: arena geometry, summon cooldowns, parry windows, and dodge i-frames. These four levers are the spine of every shortcut in the game, and the reason a Moonlighter 2 boss cheese strategy works at all is that the developers built the encounter design around reading telegraphs, not around punishing movement.
The first lever is arena geometry. Boss arenas in Moonlighter 2 are not featureless rectangles. Most rooms include destructible pillars, elevation ledges, and corner pockets where the camera loses lock-on but the boss AI still tracks you by last-known position. Community testing on the Steam guides hub has repeatedly shown that breaking a pillar mid-fight can interrupt a boss's charge animation, buying a full punish window.
The second lever is summons. The game lets you deploy a companion NPC during boss fights for a limited duration, and the Moonlighter 2 boss summon mechanic is the single most effective cheese tool in the entire kit. Summons tank aggro, draw multi-hit combos away from Will, and survive far longer than a player in light armor. Used correctly, a summon turns a two-phase fight into a one-phase damage race.
The third lever is parry windows. The parry timing in this game is generous compared to most action-RPGs, but the catch is that not every attack in a boss kit has a parry window. A Moonlighter 2 boss parry guide approach is to learn which attacks are safe to parry and which demand a dodge, then layer cheese exploits on top of that knowledge. The fourth lever is dodge i-frames, and this is where a dedicated Moonlighter 2 boss dodge guide mindset pays off.
Core Systems Cheat Sheet
| System | Key Mechanic | Cheese Potential | Risk If Misused |
|---|---|---|---|
| Arena Geometry | Breakable pillars, ledges, corners | High — interrupts telegraphs | Boss can pin you in a corner |
| Summon Cooldown | 60s cooldown, 20s duration | Very High — full aggro swap | Wasted on phase 1, useless on phase 3 |
| Parry Windows | 6-frame active window on marked attacks | Medium — punishes burst patterns | Mistimed parry = full combo punish |
| Dodge i-frames | 10 active frames on roll | High — gap closes on multi-hits | Stamina starvation if spammed |
The table above is the mental model you carry into every boss. Every Moonlighter 2 boss cheese tactic you read below is a combination of two or more of these levers, layered with the specific phase health thresholds documented in the Moonlighter 2 boss health guide community data. Health thresholds matter because most region bosses have a hard enrage at 30% health, and a cheese setup that works at 100% can collapse the moment enrage triggers.
Cheese Tactics by Lever — Moonlighter 2 Boss Dodge Guide Layer
The dodge layer is the most forgiving cheese lever because the i-frame window in Moonlighter 2 is wider than the visual cue suggests. A proper Moonlighter 2 boss dodge guide approach starts with the realization that you can roll through most multi-hit combos rather than away from them, which is a small but critical difference.
Most new players roll away from a charging boss and get clipped by the second hit. The cheese tactic is to roll diagonally into the boss's near shoulder at the moment the first hit lands. This puts you inside the swing arc for the second and third hits of the combo, where the i-frames carry you through. The window is roughly 10 frames, and the timing cue is the weapon glow on the boss's swing, not the wind-up animation.
The second dodge-layer cheese tactic is the ledge bait. Several region bosses have charge attacks that send them off the elevated center platform if you stand near the edge at the right moment. They take a small chunk of fall damage and lose a full attack cycle, which translates into 3-4 seconds of free punish window. This tactic is not universal, but it works on the Gallery boss and one of the Aeolia patterns, according to community reports.
Dodge i-Frame Timing by Attack Type
| Attack Type | Visual Cue | i-Frame Window | Cheese Modifier |
|---|---|---|---|
| Horizontal Swing | Weapon trails left-to-right | Roll 2 frames before impact | Diagonal into near shoulder |
| Overhead Smash | Boss raises weapon high | Roll on the frame of impact | Roll backward, not sideways |
| Charging Rush | Boss plants foot and leans | Roll into the shoulder at start | Bait into ledge if available |
| Multi-Hit Combo | Three chained swings | One roll, i-frames cover all 3 | Roll diagonally into combo arc |
| AoE Slam | Ground glow appears | Roll at edge of glow | Roll outward twice, not once |
The dodge layer is also where the Moonlighter 2 boss challenge guide crowd gets its start. The game's challenge modes stack boss attack speed and damage, but the i-frame window stays the same, which means the dodge cheese scales better into late-game content than the parry cheese does. If you are working through the Boss Rush mode that was added in the 1.0 launch, mastering the dodge layer first will carry you further than perfecting parry timings on a per-boss basis.
The main risk in the dodge layer is stamina management. Every roll costs stamina, and most region bosses have attack strings long enough to drain a full stamina bar if you panic-roll. The cheese mitigation is to dodge only the last hit of a combo, not every swing. This conserves stamina for the punish window and keeps you in position to capitalize on the recovery frames.
Cheese Tactics by Lever — Moonlighter 2 Boss Parry Guide Layer
The parry layer is the highest-skill cheese lever in the game, and the one that separates a cheese-strategy player from a true combat master. A proper Moonlighter 2 boss parry guide approach starts with understanding that only certain attacks are parriable, and that the visual cue is different from the dodge cue.
Parriable attacks in Moonlighter 2 have a distinct weapon glow that appears roughly 12 frames before impact, which is a longer wind-up than dodge-rollable attacks. The cheese implication is that you can read parry windows earlier than dodge windows, which means more time to commit. The catch is that mistimed parries leave you in a longer recovery animation than mistimed dodges, so the punishment for error is higher.
The most effective parry cheese tactic is the parry-into-summon combo. You parry a boss's burst attack to stagger them, immediately deploy your summon to lock aggro during the recovery frames, then punish with a full weapon combo while the boss is chasing your companion. This three-step sequence is the backbone of the cleanest cheese clears in the game, and it scales into the Moonlighter 2 boss challenge guide content because it works on every parriable attack pattern across the entire roster.
Parryable vs Non-Parriable Attack Patterns
| Attack Pattern | Parryable? | Visual Cue | Cheese Combo |
|---|---|---|---|
| Burst Swing | Yes | Bright weapon glow, 12f wind-up | Parry → Summon → Punish combo |
| Charging Thrust | Yes | Weapon draws back to shoulder | Parry → Dodge back → Punish |
| AoE Slam | No | Ground glow only | Dodge only, never parry |
| Grab Attack | No | Boss reaches forward, hand opens | Dodge backward, do not parry |
| Enrage Burst | No | Red aura, faster speed | Dodge only, parry window removed |
| Summon-Swap Stab | Yes | Companion taunts, boss turns | Free parry during aggro swap |
The non-parriable list is just as important as the parriable list. Attempting to parry an AoE slam or a grab attack is the fastest way to lose a run, and it is the most common mistake new players make when they overcommit to the parry layer. The cheese here is knowledge — knowing which attacks to parry and which to dodge is itself a cheese tactic because it lets you preserve health for the phases that matter.
The parry layer also has a hidden interaction with the Moonlighter 2 boss health guide thresholds. Most region bosses gain a new attack pattern at 60% health and an enrage pattern at 30% health, and several of those phase-transition attacks are non-parriable. The cheese approach is to burn the boss from 100% to 30% as fast as possible using parry-summon combos, then switch to pure dodge play for the enrage phase. This is the cleanest way to clear a boss without taking chip damage during the dangerous final phase.
Moonlighter 2 Boss Summon and Health Layer Tactics
The summon and health layers are where cheese tactics stop being about player skill and start being about resource management. The Moonlighter 2 boss summon system has a 60-second cooldown and a roughly 20-second active duration, which means you get one summon per fight on average, plus a possible second summon if you extend the fight past 80 seconds. The cheese tactic is to time that single summon deployment to the phase that matters most.
According to community testing reported on the Steam community guides, the most efficient summon timing is at the 70% health threshold, just as the boss transitions into its second phase. The summon tanks the phase-transition burst, Will gets a free heal window, and the boss burns its enrage-pattern attacks on the companion instead of the player. This single timing decision is the difference between a clean clear and a chip-damage slog.
The health layer connects directly to the Moonlighter 2 boss health guide data, which tracks the per-boss health pools and damage thresholds. The Aeolia boss has roughly 4,200 HP on normal difficulty, the Gallery boss sits around 3,800 HP, and Moloch caps the chain at roughly 6,000 HP. These numbers are approximate and may vary by patch, but they are the working values the community uses to plan summon timing and potion use.
Boss Health and Summon Timing Reference
| Boss | Approx HP (Normal) | Phase 2 Trigger | Summon Cheese Window | Enrage Trigger |
|---|---|---|---|---|
| Kalina | ~3,200 | 60% HP | 65% — before burst pattern | 30% HP |
| Gallery Boss | ~3,800 | 55% HP | 60% — pillar still standing | 30% HP |
| Aeolia | ~4,200 | 50% HP | 55% — after first wind burst | 30% HP |
| Moloch | ~6,000 | 50% HP | 55% — second phase entry | 25% HP |
The cheese implication of the health table is that you should never deploy your summon in phase 1 unless the boss is about to kill you. The summon is most valuable in the phase transition, where the boss's attack pattern changes and the player has the least data on the new moveset. Saving the summon for that window is the single biggest damage-reduction cheese in the game.
The health layer also informs potion use. Health potions in Moonlighter 2 are limited per run, and the cheese approach is to never use a potion above 50% HP. Save them for the enrage phase, where the boss's damage output spikes and the dodge cheese is least reliable. This is a resource-management cheese rather than a combat cheese, but it has the same effect: it lets you survive long enough to learn the patterns.
When to Use Clean Play vs Cheese — Boss Cheese Strategy Choices
Knowing when to cheese and when to play clean is itself a strategy layer, and this is where the Moonlighter 2 boss challenge guide mindset matters most. The Boss Rush mode added in the 1.0 launch, as documented on the Steam News Hub, strings every region boss back-to-back, which means your potion and summon resources carry across fights. That changes the cheese math.
In a single-fight context, the optimal cheese strategy is to burn your summon at the phase transition, use one health potion in the enrage phase, and rely on dodge i-frames for the rest. In a Boss Rush context, the optimal strategy shifts toward potion conservation and summon deferral, because a summon used on the first boss is not available for the third. Boss Rush punishes cheese overuse and rewards clean play, which is the opposite of single-fight design.
The same logic applies to the full Moonlighter 2 boss list and per-boss patterns — different bosses reward different cheese layers. Kalina's burst patterns are parry-friendly, so the parry-summon combo is dominant. The Gallery boss has destructible pillars, so the terrain cheese is dominant. Aeolia's wind attacks are dodge-friendly, so the dodge layer carries the fight. Choosing the right cheese per boss is itself a skill layer, and the same principle of matching your build to a fight's quirks is what makes the curated roster in our Moonlighter 2 Bosses breakdown worth studying before you commit to a loadout.
Cheese vs Clean Play Decision Matrix
| Scenario | Dominant Strategy | Why | Resource Cost |
|---|---|---|---|
| First Clear (Story) | Heavy cheese | Learn patterns, preserve health | High summon use, mid potion use |
| Boss Rush Mode | Mixed cheese | Resources carry across fights | One summon per two bosses |
| Challenge Mode | Dodge-dominant | Parry windows shrink, i-frames stay | No potions, full dodge focus |
| NG+ Hard Mode | Clean play with cheese safety | Patterns learned, rewards for clean kills | Minimal summon, heal only on enrage |
| Speedrun Clears | Pure cheese | Time over health, skip recovery windows | Burn everything for fastest kill |
The matrix is a starting point, not a hard rule. Community data suggests that experienced players blend the layers — they parry the parriable attacks, dodge the non-parriable attacks, deploy the summon at the phase transition, and use potions only on enrage. That blended approach is the "clean cheese" playstyle, and it is what the top of the Boss Rush leaderboard runs, according to player reports.
The takeaway is that cheese is a tool, not a playstyle. Use it to learn the fight, then layer it out as your skill grows. By the time you reach Moloch, the cheese tactics should be background habits rather than primary strategies, because Moloch's pattern variety punishes over-reliance on any single lever.
Frequently Asked Questions
What is the fastest Moonlighter 2 boss cheese for the first region boss?
Break the two side pillars before the fight starts using the bow, then keep the boss on the side where one pillar already broke. The remaining pillar becomes a hard wall, and you can cheese roughly 40% of the boss's HP with backstab punishes while it tries to path around the obstacle. This works on Kalina and is the most reliable first-clear shortcut.
How do I parry the Aeolia wind burst without losing health?
The wind burst is non-parriable, but the follow-up thrust is. Wait for the burst to end, dodge the lingering wind frames, then parry the thrust as the boss plants its foot. The full sequence is a three-step parry cheese: dodge the burst, parry the thrust, summon the companion during the recovery window, and punish with a full combo.
Can I cheese Moloch without using any summons?
Yes, but only if you have fully upgraded armor. Moloch's phase 2 includes a grab attack that one-shots unarmored players, and the only way to survive it without a summon is to have armor at the +6 upgrade tier or higher. The cheese path is heavy armor, dodge-only play, and a single health potion reserved for the enrage phase at 25% HP.
Does boss cheese work on Challenge Mode in Moonlighter 2?
Partially. The terrain and summon cheese still work, but the parry cheese is much harder because Challenge Mode shrinks the parry window by roughly 30%. The dodge layer scales the best into Challenge Mode because the i-frame window stays the same, which makes the Moonlighter 2 boss dodge guide approach the dominant strategy at higher difficulty tiers.
How does the Moonlighter 2 boss summon cooldown interact with Boss Rush mode?
Summon cooldowns reset between Boss Rush fights, but your potion count does not. The optimal strategy is one summon per two fights, used at the phase transition of the harder boss in each pair. This preserves your summon for the back half of the rush, where boss damage and pattern complexity peak, and it lines up with the post-1.0 boss rush rewards economy.